How to Create a Gasless Farcaster NFT Mint Frame with Frog.fm and Kriptonio
A Frame is a special type of an interactive post (a.k.a., a "cast") that you can program to do anything you want. A Frame has an image and up to four buttons.
Recently, the Wevm team released a great minimal framework for building Frames called Frog. With it, you can create a Frame with JSX. Under the hood, JSX code is rendered to SVG and then to PNG. This makes Frames much more powerful because they don't show just static images anymore but dynamic content.
One of the very popular current uses of Frames is minting NFTs inside Farcaster client apps. With Kriptonio, you can mint NFTs for your users without them having to pay gas fees. This is a great way to onboard new users to your NFT collection.
In this article, you will learn how to create a gasless Farcaster NFT mint frame with Frog.fm and Kriptonio.
Preparation
First, let's create a new Frog project.
yarn create frogFollow the instructions, enter the name, and decide how you would like to deploy your Frame.
After that, let's install the Kriptonio SDK.
yarn add @kriptonio/sdkNFT Smart Contract
To create an NFT Collection, you will need a smart contract. Here is the simple NFT contract that we will use in this article. We recommend using the same one while following this article.
// SPDX-License-Identifier: MIT
pragma solidity ^0.8.20;

import "@openzeppelin/contracts/token/ERC721/ERC721.sol";
import "@openzeppelin/contracts/access/Ownable.sol";

contract FarcasterNFT is ERC721, Ownable {
    constructor(address initialOwner)
        ERC721("Farcaster NFT", "FNFT")
        Ownable(initialOwner)
    {}

    function safeMint(address to, uint256 tokenId) public onlyOwner {
        require(balanceOf(to) == 0, "User already owns an NFT");
        _safeMint(to, tokenId);
    }
}
It has a safeMint function that prevents users from minting more than one NFT.
There are multiple ways to deploy this smart contract, but one of the easiest ways is to use the Kriptonio Platform to help deploy it.
First, import the contract to the Kriptonio Platform, and then afterwards we are going to deploy it via the Kriptonio SDK, gaslessly.
Create Account
Go to https://app.kriptonio.com and create a new free account.
Create the Contract
After logging in, go to Smart Contracts => New Smart Contract => By Providing Solidity Source Code, enter the
title you like, select the blockchain network where you are planning to deploy the contract (we will use Base Sepolia),
paste the contract code, and click Save.
Copy the Smart Contract ID
After the contract is created on the Kriptonio platform, you will see the Smart Contract ID
field. Copy the value, we will need it soon. Please note that the contract is not yet deployed to the blockchain
network, but soon it will be.
Deploy the Smart Contract
You can deploy the smart contract via Kriptonio Web UI or via SDK. In case you want to deploy it via Web UI, simply go to smart contract detail page and follow the instructions.
Here we will show how to do it via SDK.
Open the src/index.tsx file, remove the default code, and add the following code:
import { Frog } from 'frog';
import { KriptonioSdk } from '@kriptonio/sdk';

export const app = new Frog();
const sdk = new KriptonioSdk({ accessToken: '<kriptonio-access-token>' });
Here we just import Frog and the Kriptonio SDK, and create a new instance of both. To obtain
<kriptonio-access-token>, go to settings in your Kriptonio account => Access Tokens and
copy the token.
Next, we will need a wallet that is going to deploy the smart contract. We will generate one with the Kriptonio SDK.
const wallet = await sdk.wallet.generate({
  chainId: 84532,
  type: 'kernel',
});
Now we are ready to deploy the smart contract, if not already deployed.
const smartContract = await sdk.smartContract.get({
  id: '<smart-contract-id>',
  wallet,
});

if (!(await smartContract.deployed())) {
  await smartContract.deploy({
    params: [wallet.address],
  });
}
Milestone reached! 🎉 We have created and deployed an NFT smart contract gaslessly.
Let's create the Frame UI.
Frame UI
The Frog framework exposes a frame function that accepts the URL path where your frame will be accessible, and as a
return, it expects a specification on how to render the frame.
Here is the full code first, and then we will explain it.
app.frame('/', async (c) => {
  let alreadyMinted = false;
  let account: Account | null = null;
  const isMint = c.buttonValue === 'mint';

  if (c.frameData && isMint) {
    account = await fetch(`https://fnames.farcaster.xyz/transfers?fid=${c.frameData.fid}`)
      .then((r) => r.json())
      .then((r) => r.transfers[0]);

    const tokenId = c.frameData.timestamp;
    const balance = await smartContract.read<bigint>('balanceOf', {
      params: [account.owner],
    });
    alreadyMinted = balance > 0;

    if (!alreadyMinted) {
      smartContract
        .write('safeMint', {
          params: [account.owner, tokenId],
        })
        .then((tx) => console.log('minted', tx))
        .catch((e) => console.error('minting error', e.message));
    }
  }

  return c.res({
    image: (
      <div
        style={{
          display: 'flex',
          width: '100%',
          height: '100%',
          justifyContent: 'center',
          alignItems: 'center',
          background: 'linear-gradient(to right, #432889, #17101F)',
        }}
      >
        <span style={{ color: 'white', fontSize: '50px' }}>
          {alreadyMinted
            ? 'NFT Already Minted'
            : isMint
              ? `NFT Minted to ${account.username} 🏆`
              : 'Click Mint to mint a free NFT 🖼'}
        </span>
      </div>
    ),
    intents: alreadyMinted ? [] : [<Button value="mint">Mint</Button>],
  });
});
The Frame function provides us with a context c that contains information about the frame, the user interacting with
the frame, and other HTTP request-related data.
When a user clicks the Mint button, c.buttonValue will have a mint value, because of the attribute that we defined
in the Button component.
In order to mint an NFT, we need the receiver's wallet address. We can get one from Farcaster directly. We want to get the wallet address of the user who is interacting with the Frame.
For that purpose, we have:
account = await fetch(`https://fnames.farcaster.xyz/transfers?fid=${c.frameData.fid}`)
  .then((r) => r.json())
  .then((r) => r.transfers[0]);
The next important part is to check if the user has already minted an NFT. We can do that by reading the smart contract state and checking how many NFTs the user has.
const balance = await smartContract.read<bigint>('balanceOf', {
  params: [account.owner],
});

alreadyMinted = balance > 0;
If the user has not minted an NFT, we can mint one for them.
smartContract.write('safeMint', {
  params: [account.owner, tokenId],
});
Here we call the safeMint smart contract function and pass the receiver's wallet address and the generated NFT token
id.
The last part is to define the image and the buttons.
We will have only one button, the Mint button. If the user has already minted an NFT, we will not show any buttons.
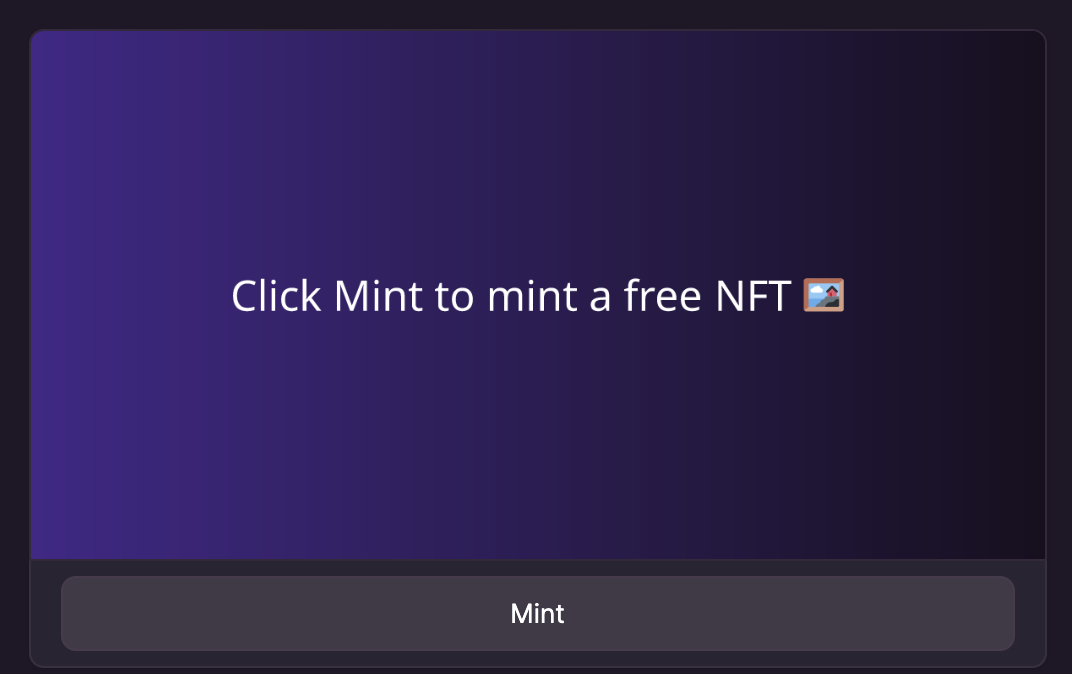
intents: alreadyMinted ? [] : [<Button value="mint">Mint</Button>],The image will be a component that is a simple div that shows the message and the status of the minting process.
image: (
  <div
    style={{
      display: 'flex',
      width: '100%',
      height: '100%',
      justifyContent: 'center',
      alignItems: 'center',
      background: 'linear-gradient(to right, #432889, #17101F)',
    }}
  >
    <span style={{ color: 'white', fontSize: '50px' }}>
      {alreadyMinted
        ? 'NFT Already Minted'
        : isMint
          ? `NFT Minted to ${account.username} 🏆`
          : 'Click Mint to mint a free NFT 🖼'}
    </span>
  </div>
),
Congratulations! You have created a gasless Farcaster NFT mint frame with Frog.fm and Kriptonio.
The full code is available on GitHub.
If you have any questions, feel free to ask in our Discord.
Remarks
The above code is a minimal example that will give you a good starting point to expand it further and cover different edge cases.
One of the first things that you might want to adjust is to have a persistent wallet private key, instead of generating a wallet on every app start. In fact, NFT minting will fail if the smart contract is initialized with a wallet that has not deployed it (not the owner).
Here is an example of how to create a wallet from your own private key:
const wallet = await sdk.wallet.from(
  {
    kernel: {
      privateKey,
    },
  },
  {
    chainId,
  },
);
You can read more about importing existing wallets here.
Thanks for reading, and happy coding!
Bonus Tip
You can operate and inspect created NFT smart contract via Kriptonio iOS/Android mobile apps. Simply login to the mobile app, import the wallet that you used to deploy the wallet, and play with the smart contract.
Links to the mobile app here: https://docs.kriptonio.com/mobile